
Backyard Rainwater Tanks: Watering Your Garden Smarter in a Dry Climate
In a dry climate, a rainwater tank is one of the most practical things you can add to a backyard. It turns roof runoff that would otherwise vanish down the stormwater drain into a free supply for the garden, and it keeps things growing through the stretches when restrictions tighten. This is a plain guide to choosing and positioning a tank, sizing it sensibly, using the water on your garden, the pump and overflow basics, and the point where the plumbing becomes a licensed professional’s job.
Why a rainwater tank makes sense in a dry climate
Most of the rain that lands on a roof is gone in minutes. A tank captures a share of it and holds it for the weeks when you actually need it — the hot, dry run when the garden is thirsty and the watering rules are at their strictest. Even a modest tank used purely for the garden takes pressure off mains supply and off your bill, and it gives you something in reserve when restrictions limit when and how you can water.
The water you collect is generally fine for gardens, beds and lawns. Using it for anything inside the house, or anywhere it could mix with drinking water, is a different conversation — see the licensed-plumber section below.
Sizing your tank to your roof and your garden
Tank sizing comes down to three things: how much roof you can collect from, how much rain your area actually gets, and how much water your garden uses. A larger roof catchment feeds a tank faster; a bigger, thirstier garden empties it faster. Rather than chase a precise figure, think about the balance — there is no point fitting a huge tank if only a small section of roof drains to it, and a tiny tank on a big roof will overflow constantly and run dry between downpours.
A good approach is to work out roughly how much of your roof you can plumb to the tank, then match the tank to the space you have and the garden you want to keep alive. Your tank supplier can help you weigh catchment against capacity for your specific roof and rainfall — they do this sizing daily and can steer you away from an over- or under-sized tank.
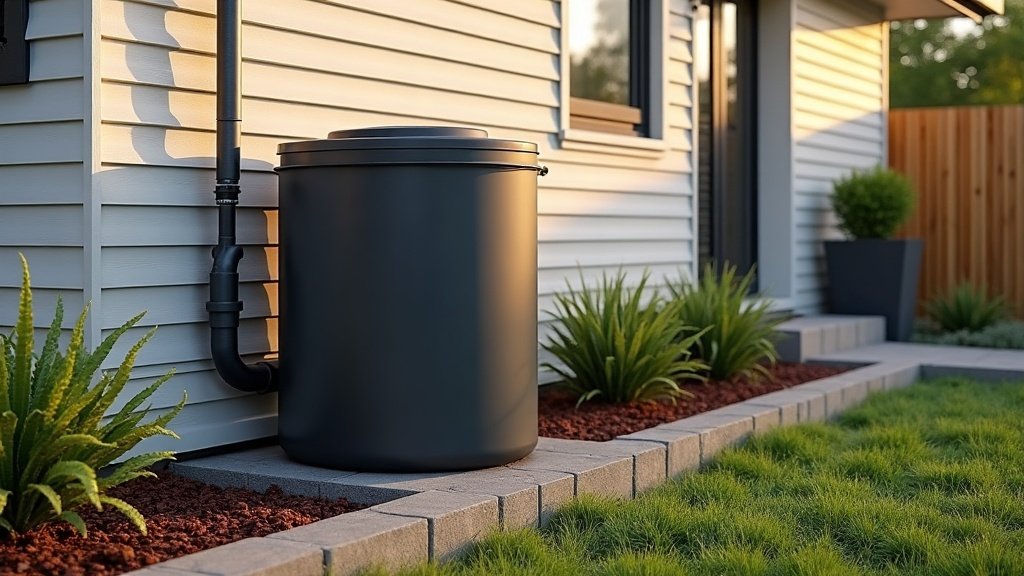
Where to put it: positioning the tank
Position is half the job. The tank needs to sit on a stable, level base that can carry the weight of a full tank, close to a downpipe so the plumbing run is short, and somewhere you can get to the tap or pump easily. Slimline tanks are built for tight side-of-house gaps; round tanks suit yards with more room. Keep overflow and drainage in mind so that when the tank fills, the excess goes somewhere sensible rather than pooling against the house or a fence.
First flush, overflow and keeping the water clean
A couple of simple fittings make a big difference to water quality. A first-flush device diverts the initial dirty runoff — the bit carrying roof dust, leaves and debris — away from the tank, so cleaner water goes in. An overflow handles what happens once the tank is full, directing surplus water away from the structure and back toward stormwater or a garden bed. Inlet screens and a leaf-free gutter keep mosquitoes and muck out. None of this is exotic, but skipping it is how tanks end up murky and smelly.
Pumps and getting the water to the garden
Gravity alone will give you a trickle from a tap at the base of the tank, which is fine for filling a watering can. To run a hose, a drip system or a sprinkler with any real pressure, you generally need a pump. Pumps range from simple units you switch on as needed to automatic, pressure-sensing setups that kick in when you open a tap. Matching the pump to how you actually water — hand watering versus a fixed irrigation system — matters more than buying the biggest one available.
Connecting to the house and mains: licensed-plumber territory
Collecting rainwater and running it to the garden via a tap or pump is one thing. Connecting a tank into the house plumbing, plumbing in a pump permanently, or setting up a mains top-up so the tank doesn’t run dry is another — and that’s where it becomes licensed work. In Australia, any connection to the potable (drinking) mains supply, and the backflow prevention that stops tank water flowing back into the town supply, must be done by a licensed plumber. This protects the drinking water for your whole street, not just your house, which is exactly why it’s regulated.
So if you want the tank feeding toilets or laundry, a permanent pump connection, or an automatic mains top-up, bring in a licensed plumber. A licensed plumber and gas fitter such as Creek to Coast Plumbing can handle the tank plumbing, pump installation and any mains connection safely and to standard, including the backflow protection these connections require. Garden-only use off a tap or a standalone pump is far simpler — the licensed work is specifically about anything touching the drinking supply or the house plumbing.
Restrictions and rebates: check locally
Two things worth checking before you buy. First, water restrictions vary by state and region and change with the seasons and drought conditions — check your water authority’s current restrictions so you know how and when you’re allowed to water, and how a tank fits in. Second, rebates for installing a rainwater tank come and go and differ from one council and state to the next, so check your council or water authority for any current rebate before you assume one applies. Don’t bank on a figure you saw quoted somewhere online — confirm what’s actually offered where you live.
A rainwater tank pays you back slowly and quietly: a free supply for the garden, less reliance on mains, and a buffer when restrictions bite. Get the size and position right, fit a first-flush and overflow, match the pump to how you water, and hand anything touching the mains or house plumbing to a licensed plumber.