
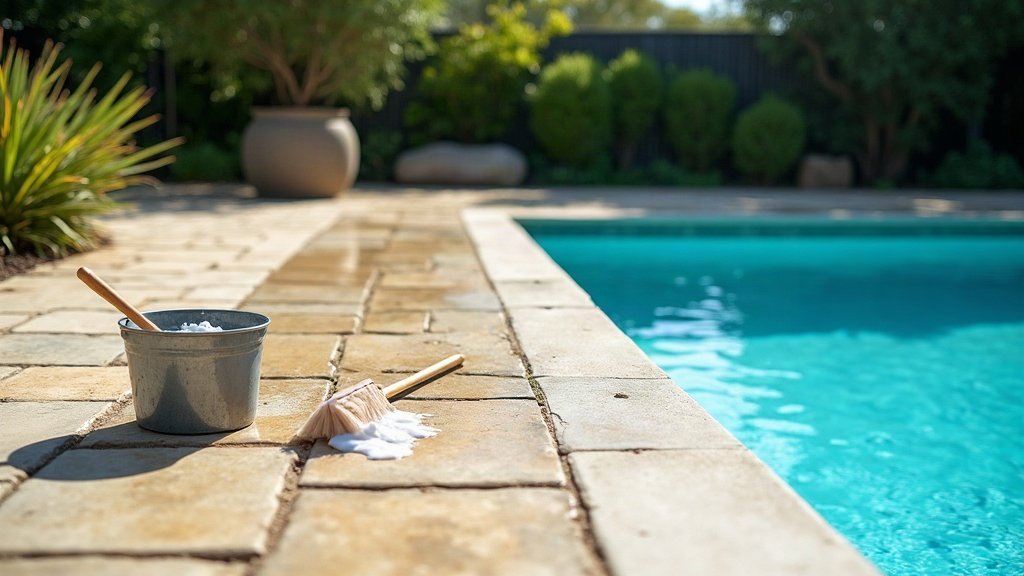
Cleaning Outdoor Tiles, Pavers and Pool Surrounds (Without Ruining the Finish)
Give it a couple of wet winters and the paving around the pool stops looking anything like the day it went down. The grout lines go dark, the shady side turns green, and one morning you nearly go for a skate on your way out to the clothesline. Most of that is fixable in a weekend. The catch is knowing what genuinely cleans an outdoor surface and what quietly wrecks the finish while you stand there feeling productive with a hose in your hand.
Why outdoor surfaces go green, black and slippery
Tiles and pavers outdoors are fighting a losing battle against moisture, shade and whatever the garden drops on them. Where the sun rarely reaches, a thin film of algae and mould takes hold, and over a season or two that turns into the black and green staining most people call grime. Lichen shows up on older, more porous stone and grips harder again.
Pool surrounds cop an extra serve. You have got splash-out, sunscreen and body oils washing off, leaf litter sitting in wet corners, and a surface that stays damp far longer than a dry patio ever would. None of it means the paving is stuffed. It just means the outer layer is doing exactly what an outdoor surface does when it gets wet and stays wet.
Start gentle, every single time
Before you reach for anything aggressive, give the area a proper sweep and a wash with warm water and a stiff broom. You will be surprised how much lifts with a mild cleaner and a bit of elbow grease alone. Work a small hidden patch first so you can see how the surface reacts before you commit to the whole lot.
A few habits keep you out of trouble:
- Test first: try any cleaner on an out-of-the-way corner and give it time to dry before you judge the result.
- Follow the label: dilution and dwell times are on the product for a reason, so use them rather than eyeballing it.
- Never mix products: combining cleaners, especially anything with bleach and anything acidic, can give off dangerous fumes.
- Rinse thoroughly: leftover cleaner attracts dirt and can mark the surface as it dries.
Where the pressure washer helps and where it bites back
A pressure washer feels like the answer to everything, and on the right surface it is brilliant. On solid concrete and a lot of glazed porcelain it will shift years of buildup fast. The trouble starts on softer or more porous stuff. Too much pressure up close can etch natural sandstone, blast the jointing sand straight out from between pavers, and leave you with light and dark stripes where you lingered.
If you do bring one out, keep the tip moving, hold it well back, use a wider fan rather than a pinpoint jet, and test a spot you cannot see from the back door. Whether a pressure washer is safe on your particular surface depends on the material, so check the guidance from whoever made or supplied the tiles or pavers before you let rip. When in doubt, back the pressure off. You can always go firmer, but you cannot un-etch stone.
Slip safety around the pool
The pool surround is the one spot where cleaning is a genuine safety job, not just a cosmetic one. A smooth surface with a film of algae or sunscreen on it turns lethal the moment it is wet and someone is running. Keeping it clean is half the battle. A regular sweep to clear leaf litter and an occasional proper wash stop that slippery layer from building up in the first place.
If a particular area stays greasy or slick even after a good clean, that is worth taking seriously with kids and older folks around. There are anti-slip treatments made for outdoor surfaces, and a surface finish with a bit more texture holds up far better underfoot than a polished one near water.
Sealing pavers and tiles: when it is worth it
Sealing is not compulsory, but on porous surfaces it earns its keep. Natural stone and concrete pavers soak up water, oil and organic muck, which is exactly what feeds staining and green growth. A sealer slows that down, so spills sit on top long enough to wipe away and the whole surface cleans up more easily next time.
A few things worth knowing before you seal:
- Clean and dry first: sealing over dirt or damp locks the problem in, so get the surface right beforehand.
- Match the sealer to the surface: some finishes want a breathable sealer, others suit a coating, so follow the product instructions for your material.
- It wears: sealing is not once and done, and you will need to reapply down the track depending on traffic and exposure.
- Not everything needs it: dense glazed porcelain sheds water on its own and generally does not want sealing at all.
When to bring in a surface specialist
Plenty of this is genuine weekend work. But there is a point where handing it over makes sense: a big area, delicate natural stone you would rather not gamble on, white crusty efflorescence pushing up through pavers, or lichen that laughs at everything you throw at it. If you are not even sure what the surface is made of, that alone is a good reason to ask.
A proper surface cleaning and sealing outfit runs soft-wash gear and knows which product suits which stone, so you are not learning on your most expensive paving. It is the same logic that runs through planning your whole outdoor space: do the gentle, sensible stuff yourself, and bring in a specialist before a quick job turns into an expensive lesson. The paving around a pool is also part of a bigger safety picture, so it is worth reading up on what pool owners should check while you are down that end of the yard.