Creating a Low-Maintenance Native Garden Bed
If you want a native garden bed that looks after itself, three decisions do most of the work: fix the drainage before anything goes in the ground, group plants by how much water they actually want, and space them for their mature size rather than their pot size. Get those right and the bed is close to self-running by the end of the second summer. Get them wrong and you will spend every weekend for the next five years trying to rescue it.
Drainage first, soil improvement second
Most native beds that die, die wet. Plenty of the hardy species people reach for, things like banksias, grevilleas, correas and westringias, evolved on soils that drain fast. Sit them in heavy clay that holds water after rain and the roots rot out over the first wet spell, months before anyone notices.
So before you buy a single plant, dig a hole about a spade deep where the bed is going, fill it with water, let it drain away, then fill it again. If that second fill is still sitting there hours later, you have a drainage problem. Two ways to deal with it:
- Raise the bed: build the planting area up 200 to 300 mm above the surrounding ground using a free draining mix, so the roots sit above the wet zone. Simplest fix, and it works on almost any site.
- Improve and slope: fork coarse material through the top layer and give the bed a gentle fall so water has somewhere to go. Cheaper, but less reliable on true clay.
Whatever you do, resist digging a deep hole in clay and backfilling it with lovely bought soil. All you have built is a bucket, and the plant sits in it.
Group by thirst, not by looks
The biggest cause of a high maintenance native bed is mixing plants with completely different water needs and then trying to run the lot off one watering schedule. You end up watering to keep the thirstiest plant happy and slowly drowning everything else.
Sort your list into rough water bands before you plant anything:
- Dry and tough: westringia, correa, kangaroo paw, the dwarf grevilleas, lomandra, dianella. Once established these want very little from you.
- Middle ground: native mint bush, hardenbergia, most of the callistemons.
- Thirstier: lilly pillies, and anything you are growing as a screen and pushing hard for height.
Plant each band together, and put the thirstier group closest to the tap or at the near end of the dripline. Then one watering decision covers the whole zone.
Space for the plant you will have, not the one in the pot
Nurseries sell natives in 150 mm pots, and at that size a grevillea and a lomandra look about the same. Read the mature width on the tag and actually use it. If the tag says two metres wide, plant it roughly two metres from the centre of the next shrub.
The bed will look sparse for the first eighteen months. That is normal, and it is the entire point. Overplanted beds turn into a weekend job: constant pruning to keep things off each other, no airflow through the middle, fungal problems in the wet, and eventually you pull half of it out anyway. Fill the gaps for a couple of years with cheap groundcovers or with mulch, not with more shrubs.
Mulch does more work than people give it credit for
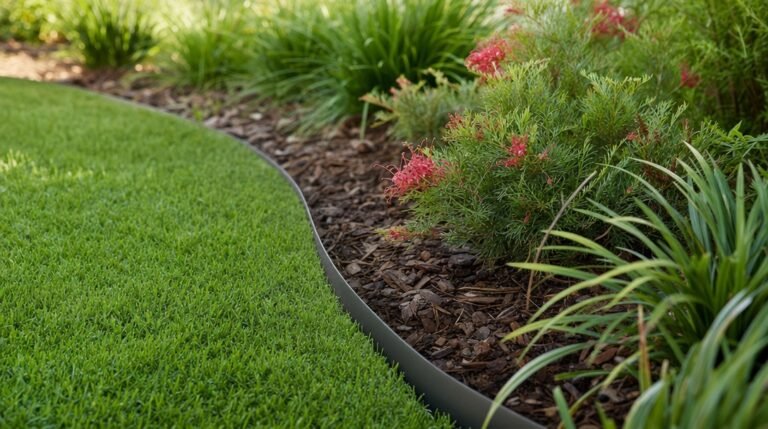
A good mulch layer across the whole bed is what actually delivers the low maintenance part. It holds moisture in the soil, keeps root zones cooler through summer, and smothers most of the weed seed that would otherwise land on bare dirt.
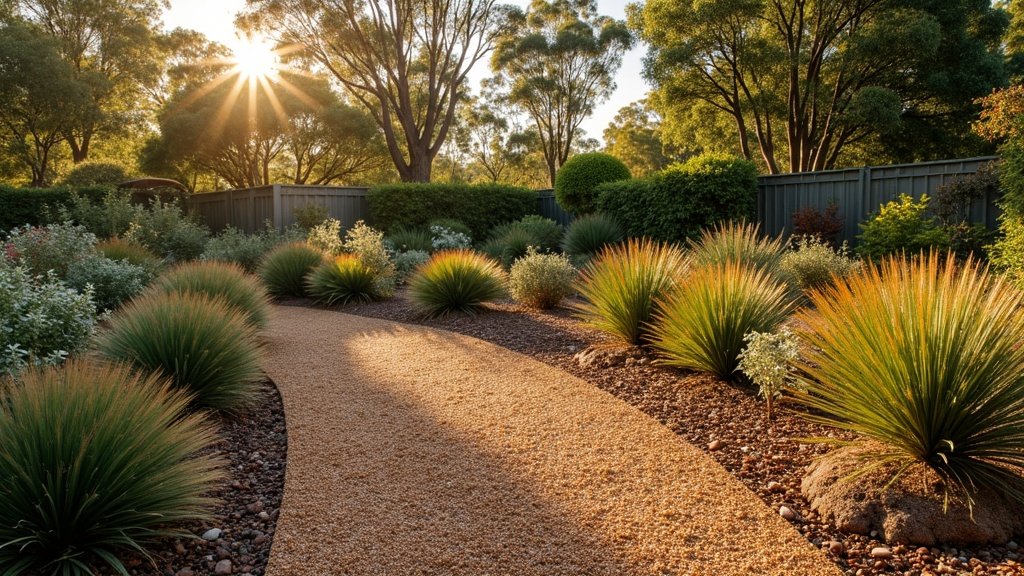
Use a coarse, chunky mulch rather than a fine one. Fine mulch mats down, sheds water off the top and breaks down fast. Pine bark, eucalypt mulch and coarse woodchip all do the job. Lay it around 50 to 75 mm deep, and keep it pulled back a hand’s width from every stem so the collar stays dry.
Top it up once a year. That is the bulk of your ongoing work, right there.
Feeding: less than you think, and the right kind
A lot of Australian natives, particularly the Proteaceae family (grevilleas, banksias, hakeas, waratahs), are sensitive to phosphorus and can be damaged by standard garden fertilisers. Use a fertiliser labelled for native plants, apply it at the rate on the packet, and do it once in early spring rather than repeatedly through the year. A bed that is not being pushed along with fertiliser grows slower, which means less pruning, which is exactly what you were after.
The first year is the only year you water properly
Low maintenance and no water are not the same thing. Nothing is drought hardy in its first summer. The roots have to get down and out into the surrounding soil, and that only happens if you water deeply and infrequently instead of lightly and often. A quick daily sprinkle keeps the roots up near the surface, which is the opposite of what you want.
A first year plan that works:
- First fortnight: a deep soak every two or three days, depending on the heat.
- Rest of the first summer: a deep soak once a week.
- Second summer: once a fortnight through a heatwave, otherwise leave it alone.
- Third summer onward: water only in an extended dry spell.
Deep means enough to wet the soil well below the root ball, not a quick pass with the hose. Check the current restrictions with your local water authority before you set any schedule, because the rules vary by state and by season.
What year three looks like
A bed set up this way settles into a short annual routine: top up the mulch, one feed in early spring, a light tip prune after flowering, and a wander through every few weeks to pull the handful of weeds that got through. That is genuinely it. All the work you skip in years two through ten gets bought in the fortnight before you plant.