Raised Garden Beds and Veggie Patches: A Beginner’s Guide
If you’ve ever tried growing vegetables straight in the ground and watched half of them struggle, a raised bed solves most of the usual headaches in one hit. You control the soil, you control the drainage, and you’re not fighting whatever’s already living in your existing dirt. That’s why raised beds are the first move most people make when they decide to start growing their own food.
Why bother raising it in the first place
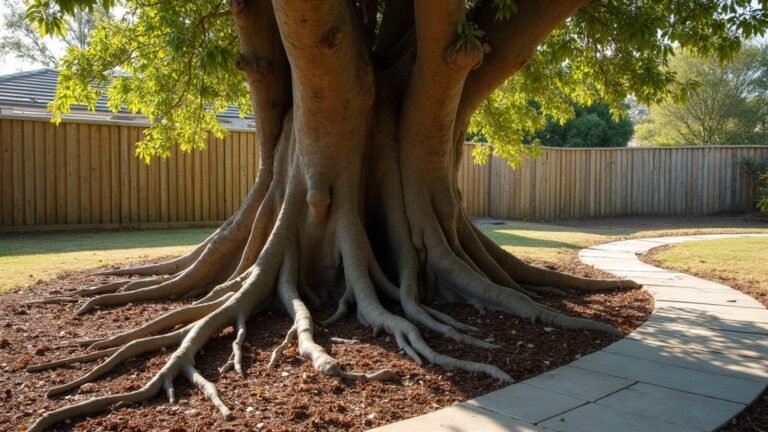
A raised bed is really just a contained box of good soil sitting on top of (or instead of) your existing ground. The appeal for beginners is control. Your backyard soil might be heavy clay, sandy and hungry, or full of tree roots competing for water. Build a raised bed and none of that matters, because you’re filling it with a mix you chose.
There’s a practical side too. Raised beds sit higher, so there’s less bending for weeding and harvesting, and a defined edge keeps lawn and garden bed from bleeding into each other. Drainage is usually better as well, which matters a lot through a wet Australian summer when waterlogged roots can undo months of work.
Where to put it: sun, drainage and access
Most fruiting vegetables, think tomatoes, capsicums, zucchini, want at least six hours of direct sun a day. Leafy greens and herbs will tolerate a bit less, but if you only get one shot at picking a spot, chase the sun first. Watch your yard for a day before you commit. Morning sun with some afternoon shade is often the sweet spot in the hotter states, since it takes the edge off peak summer heat without leaving plants starved of light.
Avoid low spots where water pools after rain. A raised bed helps drainage, but it’s not a fix for a genuine wet patch that stays boggy for days. Keep the bed within easy reach of a tap or hose too. A veggie patch that’s a hike from water is a veggie patch that gets neglected in a heatwave.
Materials: what actually holds up outdoors
Timber sleepers are the classic choice and look great, but not all timber is equal. Untreated hardwood or cypress will last reasonably well and is safe for growing food. Be cautious with older treated pine, particularly anything that might be CCA-treated (recognisable by a greenish tinge), as the treatment chemicals aren’t something you want leaching into soil you’re growing edibles in. If you’re buying new treated timber, check the label and ask the supplier whether it’s rated as safe for veggie garden use.
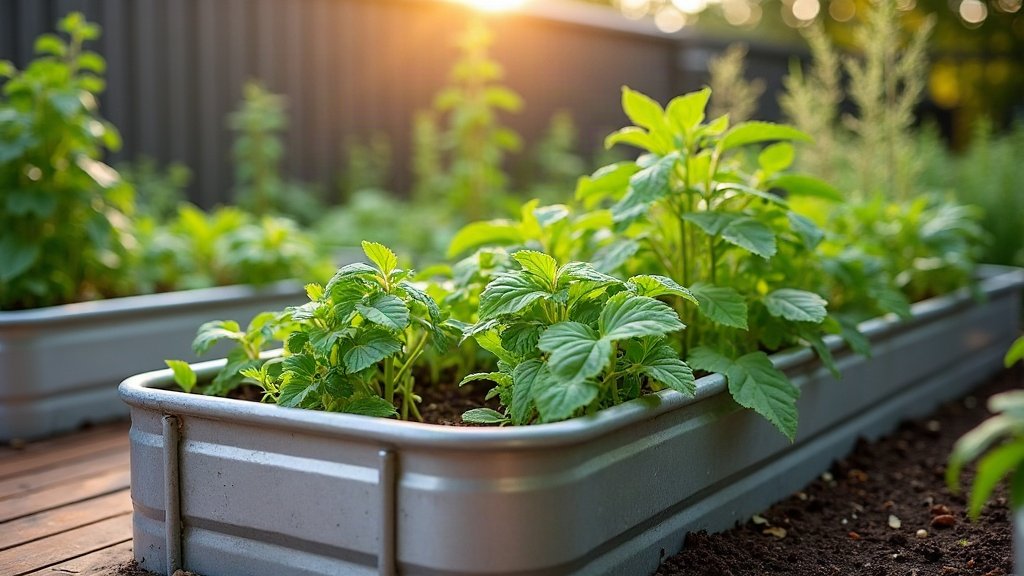
Galvanised steel beds have become popular for good reason: they don’t rot, they last for years, and modular kits make assembly straightforward for a first-timer. The trade-off is they heat up in full sun, so a thicker soil mix and reliable watering matter more with metal.
Modular kits (plastic, composite or steel) are the easiest entry point if you’d rather not build from scratch. They come with instructions, they’re a weekend job at most, and they’re a sensible way to test whether you actually enjoy growing your own veggies before investing in anything permanent. A galvanised raised bed kit is a good example of the type: panels bolt together in an afternoon and there’s no cutting or welding involved.
(This post contains an affiliate link. If you buy through it, we may earn a small commission at no extra cost to you.)
Filling the bed: layers, not guesswork
Don’t just tip a single bag of potting mix in and call it done. A layered approach gets better results and stretches your budget further:
- Base layer: coarse material like sticks, prunings or straw at the bottom, which breaks down slowly and improves drainage.
- Bulk layer: a mix of compost and quality garden soil to fill most of the depth.
- Top layer: a finer vegetable-specific potting mix or compost blend for seedlings to root into.
Depth matters more than most beginners expect. Deeper is generally better for root vegetables and larger crops like tomatoes, while a shallower bed can still work well for herbs and leafy greens. Rather than quote a single number as gospel, check the guidance on the seedling punnet or seed packet for the specific vegetable, since root depth needs genuinely vary.
An easy first round of vegetables
For a first go, lean toward vegetables that are forgiving of mistakes:
- Leafy greens: lettuce, silverbeet and spinach grow quickly and forgive the odd missed watering.
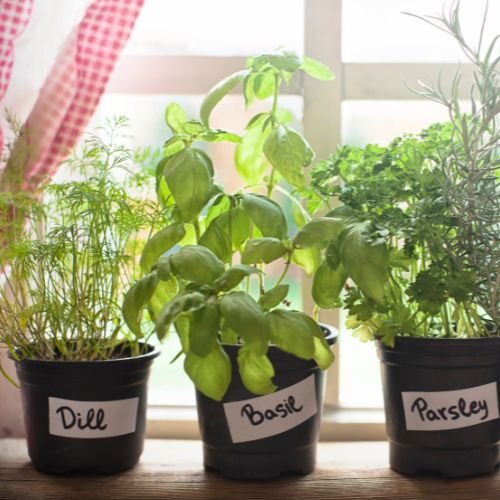
- Herbs: basil, parsley and mint are hard to kill and useful in the kitchen straight away.
- Zucchini or cherry tomatoes: reliable croppers that reward beginners with a genuine harvest.
Skip fussier crops like cauliflower or celery until you’ve got a season of confidence behind you. Success with the easy stuff is what keeps people gardening.
Watering and ongoing care
Raised beds drain faster than in-ground gardens, which means they also dry out faster, especially metal beds in a hot northern summer. A layer of mulch on top of the soil helps hold moisture and cuts down how often you need to water. Check the soil with a finger before watering rather than sticking to a rigid schedule; if it’s dry a few centimetres down, it’s time to water.
When it’s worth calling in a professional
A single raised bed is a genuine DIY weekend project for most people. Where it starts tipping into professional territory is larger builds involving structural retaining, beds built into a slope, or anything that needs proper drainage and engineering to stop soil movement further down the yard. If your plan involves reshaping a sloped section of the block rather than sitting a simple box on level ground, it’s worth getting that side assessed properly before you start digging.
Beyond that, a raised veggie patch is one of the more forgiving projects you can take on in a backyard. Get the position right, don’t skimp on the soil, and start with a few reliable crops. The rest you’ll pick up as you go.