Backyard Irrigation and Outdoor Taps: Getting Water to the Right Beds
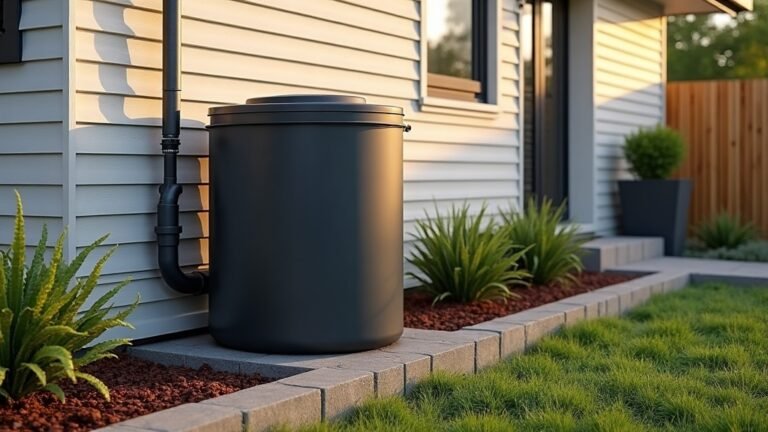
The quickest way to waste water in an Aussie backyard is to stand there of an evening with a hose, splash the surface, and call it done. Good backyard irrigation comes down to one thing: getting the right amount of water down to the roots of the right beds, with as little as possible running off the path, blowing away on the breeze or evaporating before it soaks in. This is a plain guide to the delivery gear that actually does that job, drip, sprinklers, soaker hose, timers and taps, plus the point where the plumbing stops being a DIY afternoon and becomes a licensed plumber’s problem. If it is the storage side you are after, catching and holding roof water, that is a separate job we have covered in the backyard rainwater tank guide.
Heads up: one link below goes to a product on Amazon, and we may earn a small commission if you buy through it, at no extra cost to you. We only point at gear we would genuinely use.
Match the method to the bed
There is no single best system. The trick is matching the delivery to what you are actually watering, because a sprinkler that is brilliant on a lawn is a waste on a veggie patch.
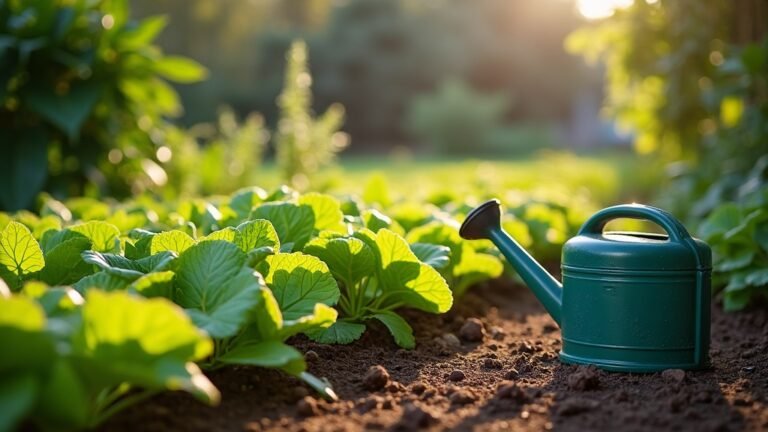
- Drip or inline dripline: best for garden beds, veggie patches and pots, because it drips water straight at the root zone and almost nothing is lost to wind or the hot air.
- Pop-up or micro sprinklers: best for lawns and wide open ground where you want even coverage across a big area and cannot practically run a line to every plant.
- Soaker hose: best for hedges and long straight beds, where you want a slow seep along the whole run instead of spot watering one plant at a time.
Plenty of backyards end up running two of these off the one tap, dripline on the beds and a sprinkler on the lawn, and that is perfectly normal.
Timers and zoning: water while you sleep
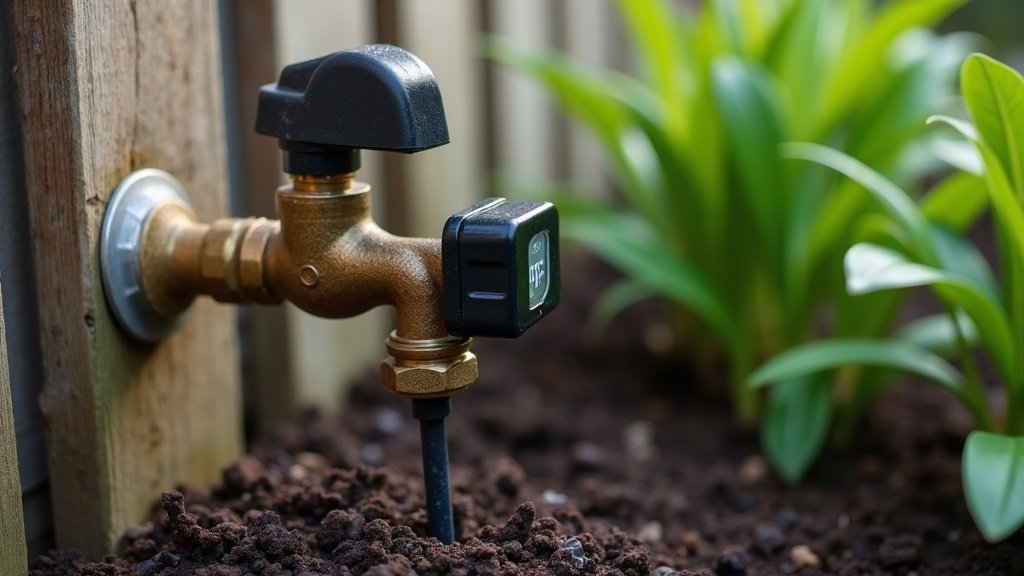
A tap timer is the single cheapest upgrade most gardens can make. You screw it onto the outdoor tap, set it to come on in the early morning before the heat, and the garden gets a deep drink whether you are home, at work or away for the weekend. Early morning beats evening for most of the country because the foliage dries off through the day, which keeps fungal problems down.
A simple mechanical unit such as the Holman 2 Hour Dual Outlet Tap Timer winds on like an egg timer and shuts itself off, which is plenty if all you want is to stop yourself forgetting the hose is running. Step up to a digital programmable model if you want set days, multiple start times and a rain-delay button.
Zoning just means splitting the garden into groups that get watered differently. Thirsty veggies and newly planted stock want more; an established, mulched native bed wants far less. Put them on separate lines or separate timer outlets so you are not drowning one just to keep the other alive.
Pressure and fittings: where the leaks actually live
Most DIY irrigation grief is not the fancy gear, it is the fittings. Get these right and a system will run for years without you touching it.
- Match the fittings to the hose size: 13mm poly pipe and 4mm dripline use different barbs, and mixing them is exactly where the drips and blowouts start.
- Check your tap pressure before you buy: a big sprinkler run fed off a low-pressure tank line will disappoint, and some timers need proper mains pressure to seal and open at all.
- Hand-tight is usually right: cross-threading a plastic fitting or forcing it cracks the thread, and that is the slow leak you only find three weeks later.
Mulch and soil do half the watering
Before you add a single dripper, get a solid layer of mulch down over the beds. Bare soil bakes hard and sheds water; a good mulch layer keeps the ground cooler, slows evaporation right down and lets the water soak in instead of running off. A well mulched, timer-fed bed will get by on a fraction of the water that the same bed needs sitting bare under a sprinkler.
Working within your water restrictions
Watering rules change with the season and the region, and they tighten quickly in a dry spell. Before you set any timer to run, check your local water authority’s current restrictions for what you are allowed to use, on which days and at what times. Drip and dripline systems are often treated more leniently than sprinklers under restrictions because they waste so little, but do not assume that, confirm it for your own area, because it is your water authority that sets and enforces the rules, not the bloke at the hardware shop.
Adding a new outdoor tap: know where DIY stops
Fitting a timer, a length of dripline or a two-way splitter onto an existing garden tap is standard weekend DIY. Running a brand new tap off the mains, relocating a water line, or anything involving backflow prevention is a different story. In Australia that is licensed plumber territory, and getting a mains connection or backflow device wrong can actually contaminate the drinking supply, which is why the rules exist. If the job means cutting into the mains, or you are not certain whether a backflow device is required, get a licensed plumber in. It is cheaper than the fine and a lot cheaper than the repair.
Get the delivery right and the garden nearly looks after itself: deep, early, straight to the roots, on the days you are actually allowed to run it. Start with a timer and a run of dripline on the beds you care about most, then build it out from there. For how watering fits with the rest of the yard, head back to the complete guide to planning an Aussie backyard.